
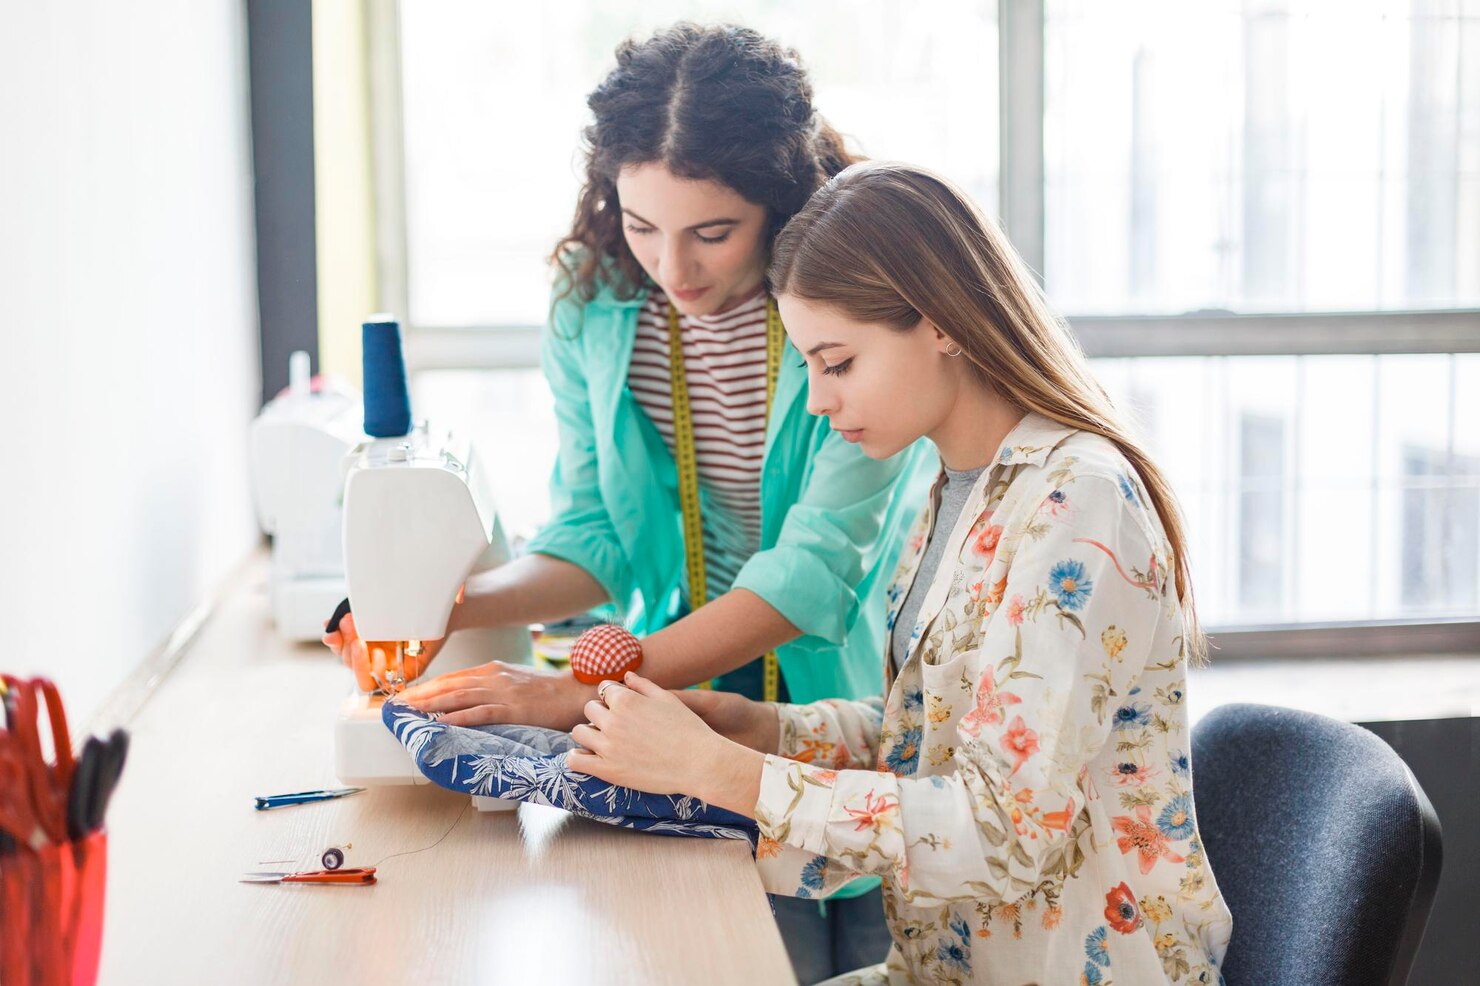
Getting started with sewing can seem a little intimidating at first, suddenly you’re faced with strange words, new tools, different fabrics and machine settings that make you think, “Where do I even start?” But don’t worry, you don’t have to know it all on day one.
Sewing becomes a lot less confusing when a few basics start to click. You’ll learn why one fabric behaves differently than another, what those machine settings really mean, and why each tool has its own purpose. Bit by bit, “What does this do?” becomes “Oh, now I get it.”
That’s what this guide is here to help with. As a beginner, you’re likely to encounter the basic sewing concepts. We’ll break them down into machine parts and common terms, fabrics and settings. By the end, you’ll have a foundation that makes your next project feel much easier to tackle.
Understanding the Basic Sewing Tools
Before you start sewing, it helps to know what each tool actually does otherwise, your sewing box can feel confusing. Once you understand the basics, you will know what to pick up, how to use it, and why each tool matters for your sewing projects.
Most of the sewing you do on your sewing machine, which sews pieces of fabric together quickly and evenly. But you need fabric scissors and measuring tools to properly prepare those pieces before sewing it. Sharp scissors cut cleanly, rulers and tape measures keep everything accurate.
Now that your fabric is measured and cut, needles, pins and thread help pull the pieces together. Hand sewing is done with needles. Pins are used to hold the fabric pieces together before stitching. The right thread for your fabric will help you create clean, strong seams that stay where you put them.
Getting Familiar With Sewing Machine Basics
Once you know your basic sewing tools, the next step is getting comfortable with the machine itself and thankfully, you only need to understand a few key settings to get started. These settings all work together every time you sew so let’s take a look at what each one actually does:
- Threading the machine: Threading can seem complex, especially in the beginning, but it’s much easier if you follow the path indicated from the spool to the needle. The right bobbin also ensures that the thread passes through the machine easily during sewing.
- Choosing a stitch: For woven fabric a straight stitch would be a good starting point as it is a simple and strong seam. A zig zag stitch will provide enough freedom of fabric movement for stretch fabrics without the thread breaking.
- Stitch length and tension: Stitch length refers to the distance between the stitches. Tension is the meeting of the upper and bobbin threads. The correct setting will vary depending upon the seam type, fabric and thread.
- Using the presser foot: This keeps fabric in place on the machine as feed dogs move the fabric forward. To steady the fabric before sewing, drop it, which makes for smoother and more even stitches.
Sewing Terminology Beginners Should Know
The first time you open a sewing pattern, words like “seam allowance” and “grainline” can make you pause and wonder what you are supposed to do. Once these terms become familiar, though, pattern instructions feel much easier and you can start following them with confidence. So, here are the terms you will see most often:
- Seam: The stitched join between two pieces of fabric, holding them together to form part of your garment or project.
- Seam Allowance: The width of fabric between the line of the seam and the raw edges, allowing enough space for the sewing to be done firmly.
- Hem: A finished edge on fabrics, such as the bottom of a garment, sleeve bottom, pant leg, or skirt, that is folded and helps prevent fraying and crispy edges.
- Right Side and Wrong Side: The right side of the fabric is the side that will show, and the wrong side is typically the inside of the project when complete.
- Grainline: The way the fabric is woven, which is typically indicated on your pattern. Following it correctly helps your finished garment hang, fit, and move the way it should.
Understanding Basic Sewing Stitches
As you begin sewing, you will hear names like straight stitch, zigzag stitch, and basting quite often but each one has a different role. Some make powerful seams, some are stretchable, and others are only used for a short period of time. The following are the basic stitches you will encounter first:
- Straight Stitch: The simplest stitch and most commonly used for everyday sewing. Produces a clean even seam and is primarily used for joining woven fabrics, including cotton, linen and quilting cotton.
- Zigzag Stitch: Rather than straight, this stitch zig-zags. It adds to the flexibility of the fabric making it useful for knit fabrics and finishing raw edges.
- Backstitching: Additional stitches at the ends of a seam. A few backwards stitches at the start and finish of a seam will prevent the thread from coming undone when dealing with the finished product.
- Basting: It is the temporary joining of fabric pieces by bast stitches which are long and loose. It’s useful to be able to check how it fits, lay out the pattern pieces or make adjustments before sewing the final seam.
Learning How Fabric Behaves
This is where sewing gets a little interesting not all fabrics behave the same under your needle. Some hold well in place, others slip, stretch or shift as you work. Knowing these differences, you can adjust your technique rather than fight the fabric.
Then there is the weight and structure of the fabric, which can change the look of your project from the very start. Voile is light, soft and drapes easily, heavier denim will hold its shape and needs more support. These differences are important when choosing your needle and stitching method.
Before you make that first cut, take a moment to prepare your fabric, it can save you trouble later. Pre-washing helps reduce unexpected shrinkage, pressing removes stubborn creases, and checking the grain keeps your pattern pieces properly aligned. A little preparation can make the finished piece look much better.
Understanding Sewing Patterns
Once you are comfortable with your fabric, the next thing to understand is the sewing pattern this is what turns a piece of fabric into something you can actually wear. A pattern will provide you with the shape, size and pieces that you want, and you will know what to cut and how it will all fit together.
Subsequently, pattern pieces and marking indicate you where each piece belongs. It could be a section of a sleeve, bodice, a pocket, or a collar, notches, darts, fold lines and other smaller marks may be visible. They can be confusing at first, but every one has a specific task.
Once you have all of the pieces prepared, it’s important to follow the pattern instructions in sequence to ensure that everything fits together correctly. Cutting, matching, stitching, and finishing usually happen in a set sequence so skipping ahead can create extra work later. Taking it one step at a time keeps the project much easier to manage.
Why Measuring and Cutting Accurately Matters
Good sewing starts before the machine is even switched on accurate measurements help you choose the right pattern size instead of relying on your usual clothing size. Taking time to measure your body properly gives the pattern a better chance of fitting the way you expect.
Then comes the cutting stage, where precision really matters. Follow the correct size line, use sharp fabric scissors, and cut slowly around curves. Once the pieces are ready, mark darts, notches, and other key points with fabric chalk so you know exactly where everything belongs.
Importance of Pressing While Sewing
A neatly cut piece is only the beginning as you start sewing, pressing helps each part settle into place and keeps your work looking neat. It is different from ironing, because ironing moves across fabric to remove wrinkles, while pressing uses short up-and-down movements to shape seams without stretching them.
That difference becomes especially useful when pressing seams as you work. Press each seam soon after sewing it, so it stays flat before the next piece is added. Doing this along the way keeps layers from becoming bulky and makes the following steps easier to handle.
Once your seams are sitting neatly, finishing brings the whole project together. Clean edges help prevent fraying and keep the inside looking tidy, while careful pressing throughout gives the finished garment a smoother, more polished appearance the small details are what make it look truly handmade.
How These Basic Concepts Grow Your Sewing Skills
These sewing basics at first can seem like different things to learn, but after a while you begin to realize how one thing will help the other. A simple stitch becomes a part of a project, careful cutting results in better fit and following patterns is easier. Therefore, that expansion regularly appears to be like this:
- From basic stitches to complete projects: The stitches you learn first can soon be used to make hems, seams, zippers and more of a completed project.
- From following instructions to working independently: When you start sewing words and steps are easy to understand, you won’t need the instructions to check for everything.
- From beginner projects to more advanced sewing: Sewing a simple project like a pillowcase or a tote bag can get you ready for clothes with zippers, darts and sleeves and more intricate designs.
Sign Up for Beginner Classes at Stitched Together Studio & Learn Sewing from Professionals!
Learning the art of sewing teaches you the basics but it’s actually using a machine and working with fabric that builds confidence. At Stitched Together Studio, we put these ideas into practice with our beginner classes in small groups with guidance and feedback as you learn.
Instead of wondering whether you threaded the machine correctly or cut the fabric properly, you can ask questions and get help right away. You will practice machine basics, patterns, stitches, and other essential skills while working on real projects that make each lesson feel useful.
Your first sewing project does not have to stay a “someday” idea one class can be the step that finally gets you started. So, book your beginner sewing class at Stitched Together Studio today, meet other new sewists, learn with confidence, and make something you will genuinely be proud to finish.
Frequently Asked Questions (FAQs)
Q1. What is the easiest stitch for a beginner to learn?
The straight stitch is the easiest stitch to learn, since it works on most fabric types and covers the majority of basic seams. It is the default stitch on most sewing machines and is a place where beginners typically begin the sewing process without changing any stitching parameters.
Q2. How do you know what size needle to use?
The size of the needle varies according to the type of fabric, with the smaller size being used for lightweight fabrics such as voile and the larger size for heavier fabrics such as denim. You can avoid skipped stitches and needle breakage by following the instructions on the needle package label that match your type of fabric.
Q3. Do you have to pre-wash fabric before sewing?
The most sure way to prevent fabric shrinkage after the garment is completed is to pre-wash it before cutting. It also eliminates finishing chemicals that may have been used in the manufacturing process.
Q4. What is the difference between a seam and a hem?
A hem is a finished raw edge of fabric, typically the bottom of a garment, while a seam is a holding together of two pieces of fabric by stitching. Both are made using a similar stitching technique, but are used in different ways in the finished product.
